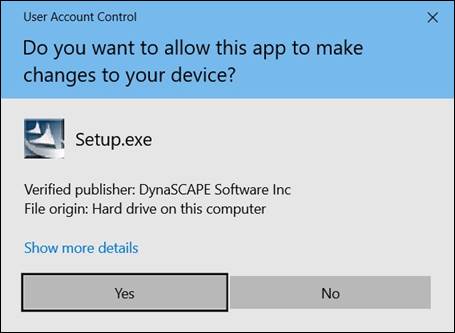
Installation Overview
Before installing DynaScape Design, read and understand this section to ensure your installation proceeds smoothly. Make sure your workstation(s) are properly prepared for installation to save time and effort. Attempting to install on a workstation that does not meet basic system requirements creates performance problems, software failure, or even system problems. Consult the System Requirements section at https://www.dynascape.com/system-requirements/ to ensure your workstation meets the basic requirements.
Installing DynaScape Design
1. Install DynaScape Design. Login to https://myaccount.dynascape.com/Login.aspx, enter your login credentials and navigate to and click on the downloads bar at the top of the page. Once there click on DynaScape Design – Full Install. This will download the .exe file into your downloads folder.
2. Once the download is completed navigate to your downloads folder and run the file, it should be called DSDesignInstall.

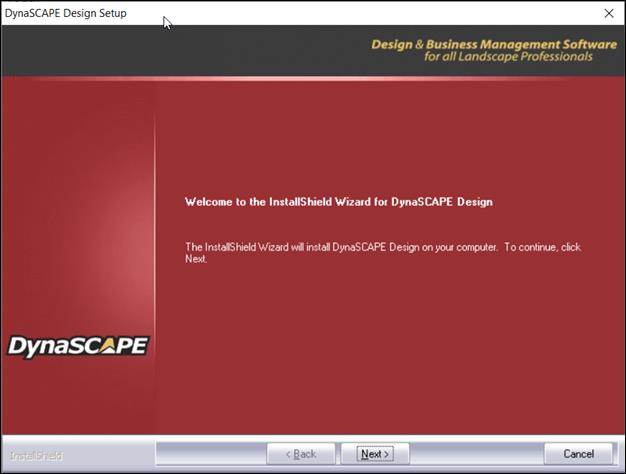
3. The first panel is the Welcome Screen. Click Next.
 |
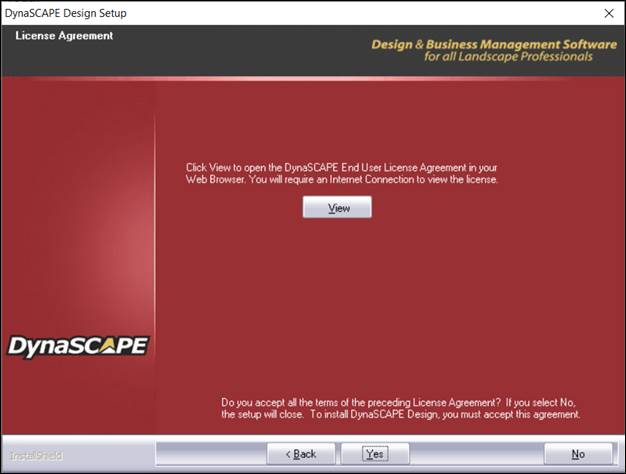
4. The second panel is the License Agreement. Read the agreement carefully and if you agree, click Yes.
5. The third panel called the Customer Information will prompt you to type your name and the name of your company (insert if applicable).
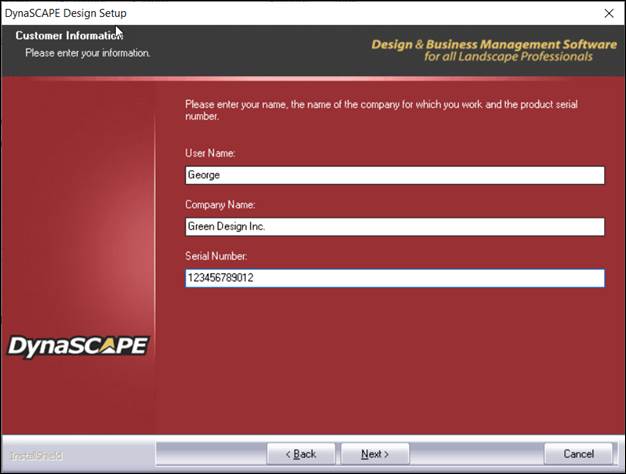
6. Type in the valid serial numbers you have been given.
 Note:
Note:
Serial numbers are case sensitive.
 Important:
Your serial numbers are located on the DynaScape’s My Account Page.
Select the Next button when you are ready to proceed.
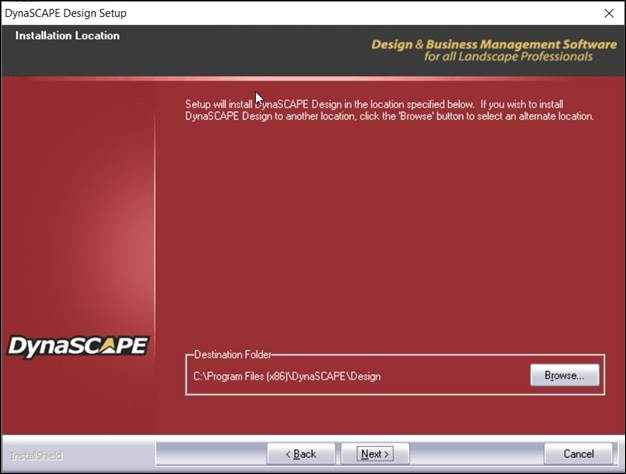
7. The fourth panel called Choose Destination Location allows you to either proceed with the default installation of the program to the C: drive in your computer, or to use the Browse button to choose an alternative location for the installation of the program. It is recommended it use the default drive C. Click Next.
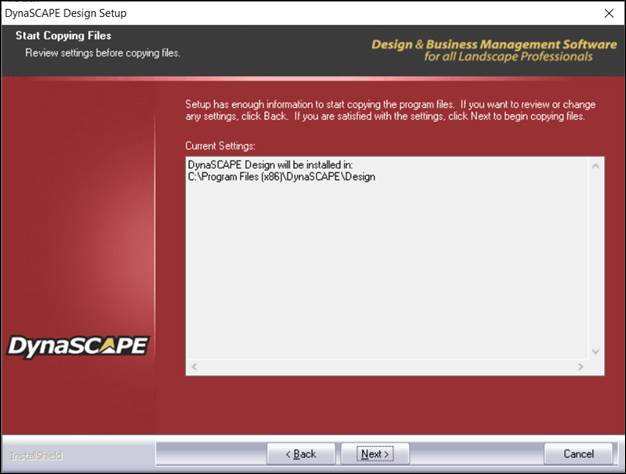
8. The installation will begin. It may take a few minutes to install.
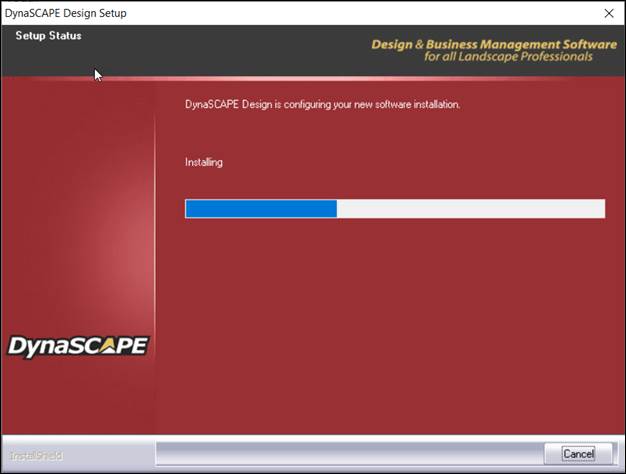
9. Click Finish to complete the installation. DynaScape Design is ready to use.
10. Check for updates:
•Windows
10
Click Windows Logo
in bottom left corner
All Apps
Scroll down and click on DynaScape
Click
on Check for DynaScape Design Updates and follow the prompts.