If the purpose of your design labels is to provide a description of your design elements for your clients and crews to read and for creating a material list, follow these steps when inserting them:
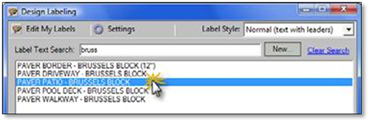
1. Select the label you wish to use from the list.
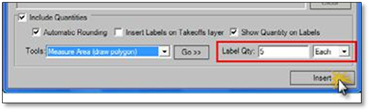
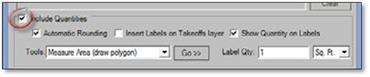
2. Turn Include Quantities on.
3. This will provide a number of options to choose. Choose the ones that are appropriate for you:
Automatic Rounding ‐ will round all quantities up to the nearest full number (no decimals or fractions).
Insert Labels on Takeoffs layer ‐ this is for labels strictly used for creating a material list or estimate. Labels inserted using this option will be placed on the Takeoffs layer. The Takeoffs layer will turn off in Design_Mode, allowing you to print a drawing without the label visible. All_Labels_On Mode will turn this layer back on for creating a material list or estimate.
Show Quantity on Labels ‐ this option is to allow you to include a quantity property with a label, without the quantity visible on the label. This way you can create a material list or quote and not have to display the quantity on the drawing that the customer sees.
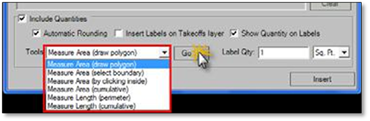
4. Next, choose a measuring tool or enter a label quantity manually.
When choosing a measuring tool, click Go>> to start the measuring process. The quantity will automatically attach to the label when you insert it. The panel will minimize to give you full view of your drawing and re‐open when the label has been placed.
When entering a label quantity manually, type in the quantity, select the units you wish to use and then click Insert to place the label. The panel will minimize to give you full view of your drawing and re‐open when the label has been placed.