1. Click on the tool (shown above) to open the modifier.
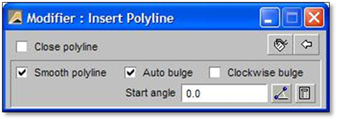
2. Select the Smooth Polyline toggle ‐ notice the Auto Bulge automatically toggles on as well.
3. Make sure the Constraints are set to None.
4. Set the start angle (this is only for the first arc). There are two ways to set the start angle of the polyline:
a. Manually: set the start angle by entering it manually a then start drawing your polyline or
b. Visually: by clicking on the ‘Define start the tangent angle of the polyline (smooth)’ button. The options on the modifier will all turn grey, and you can use the mouse to define the direction at which the smooth polyline will begin. Click once to place your first point of a temporary line and click once more in the direction you wish the first arc of the polyline to go. The modifier will go back to normal, and the angle will automatically be set in the Start Angle box. Now you are ready to place the first point of your polyline.

5. Click on the drawing where you want the polyline to start.
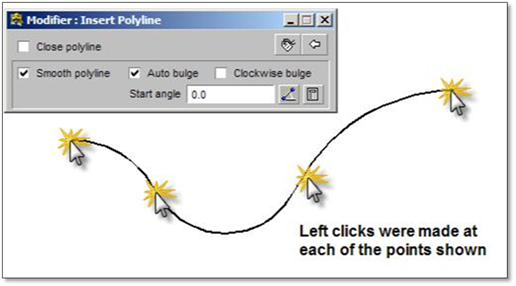
6. If you have not set a Start angle, the first arc will always start in a left to right direction. Move the mouse to the next location, notice that as you move the mouse the shape and size of the ‘arc’ created changes. Click to insert the next point.
7. Continue Clicking until the desired shape is achieved. Once all the left clicks are made, right‐click to finish the polyline.
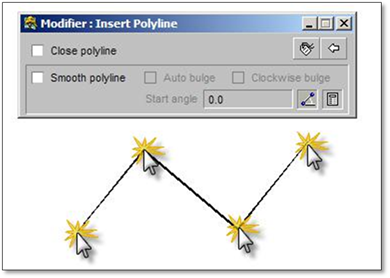
Polylines can also be drawn with straight lines or with both ‐ simply follow the steps above but do not check the Smooth Polyline toggle.
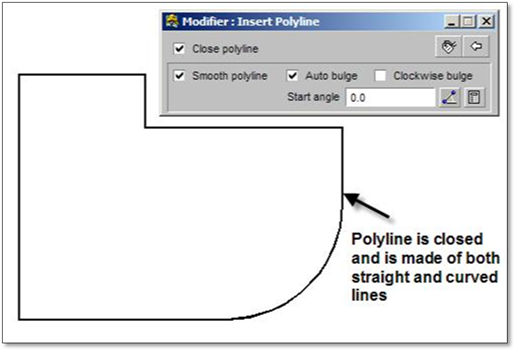
Closed polylines can also be created. These polylines are excellent for defining hatch or section areas or for creating island beds, berms, patios, etc. Closed polylines can be smooth or straight or a combination of the two.