
To edit an existing toolbox, follow these steps:
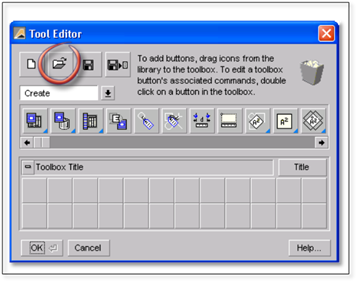
1. Click on the Tools menu and choose Tool Editor.
2. In the panel that appears click on the folder icon to find a toolbox to edit.
3. Navigate to the following location:
C:\Documents and Settings\(User Name)\My Documents\DynaScapeDS\panels\english\TOOLS.
4. Choose one of the .TBX files in this folder that you wish to edit and then click Open. The toolbox will open in the panel.

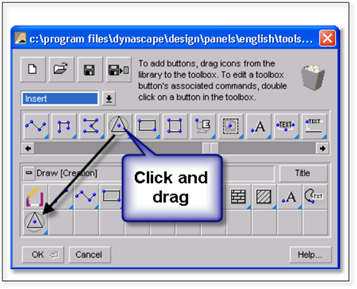
5. To add tools to this toolbox you will need to locate the desired tool in the row of tools displayed in the middle of the panel. These tools are grouped into five master toolboxes. The default is the Create master toolbox. To access the other master toolboxes, click on the name Create above the tools or the arrow and select another one.

One the desired tool is found, left-click and drag the tool into an empty space on the open toolbox below.
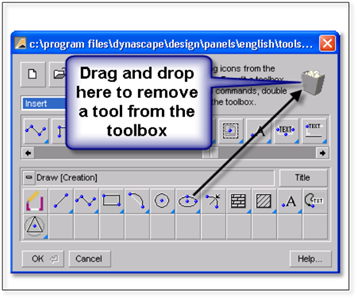
6. You can also rearrange the tools within the toolbox by dragging them around. To remove a tool from the toolbox, drag it to the garbage can image on the top right side of the panel and drop them.
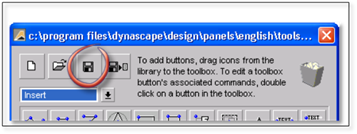
7. To finish, click on the save icon and then click OK.
8. To see the changes to the toolbox you must first close and then reopen the toolbox and the tools will be refreshed.