To use the Insert a Hatch/Generic Pattern into a Contained Area tool, follow these steps:
1. Click on the tool (shown above) to open the modifier.
2. Select the pattern to be used. This can be done by scrolling through the list on the left-hand side of the panel or by clicking on the Hatch (or Section) Picker button.
3. Set the scale and rotation (if required) for the hatch (section) and press the [spacebar].
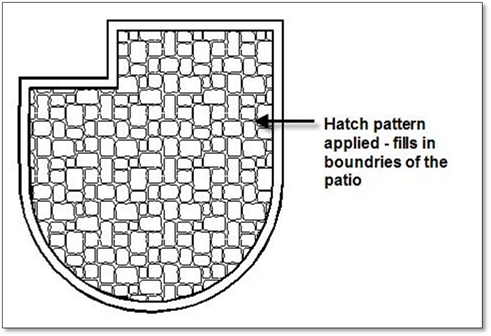
4. Select the area which is to be hatched (sectioned) by clicking in the center of the area to be filled. DynaScape Design will automatically find the bounding lines ‐ which will be highlighted blue.
5. Once the bounding entity is selected (and hi‐lighted), right‐click to fill with the hatch (section).
 Tip:
Tip:
If when you are entering a pattern and it appears to be inserting very slowly because scale of the pattern being entered is too small, you can stop the process by right‐clicking. This will return you to the start of selecting the area to be hatched/sectioned and the modifier will be available to change the scale. This process can also be used if the wrong pattern is selected or if the rotation angle entered is incorrect