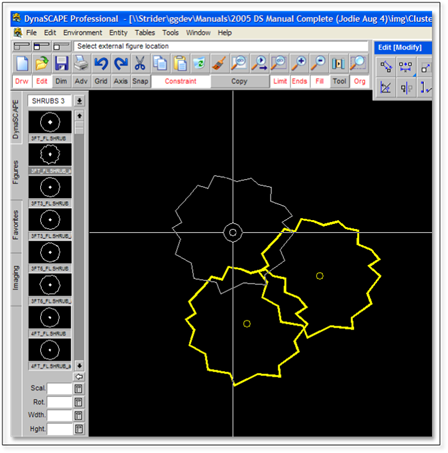
Library figures are all drawn to scale and can be inserted unchanged into your drawing. You can insert them, one at a time, or multiple times without having to go back a select again, provided you are in the same command. You can set a scale, a rotation angle, a width and a height prior to inserting a figure, or you can modify it after you have inserted it into your drawing.
To insert a figure, follow these steps:
1. Click on the thumbnail or name of the figure you wish to insert into your drawing. A list of four options will appear below the thumbnails, giving you the option to change the default size and rotation of the figure you wish to insert:

•Scal. —Enter a number here to change the scale or size of the figure you wish to insert, i.e., enter an amount of 2.000 will make the figure two times the size of the default.
•Rot. —Enter a number here to set the specific angle you wish to have the figure set to on your drawing. By entering nothing here you can still rotate the figure during the process of inserting it.
•Wdth. and Hght. —Enter numbers here if you wish to set a specific width or height for the figure you wish to insert. If you enter a number in only one of these, you will end up with a figure that is skewed. Some skewed figures will not cluster properly.
 Important:
It is not necessary to insert a number in any of the options previously mentioned. If you choose not to enter any numbers, the figure will be inserted at the proper scale, and you will have options to change the scale and rotation during the insertion process or after insertion is complete.
2. After clicking on your figure, move your mouse over your drawing and a ghost image of the figure will appear, attached to your cursor (illustrated using crosshairs).

3. Select where you want to insert the figure by clicking on that location of your drawing. If you do not wish to change the scale and rotation of the figure, right-click to finish the action.
4. Now you can insert the same figure again without having to select it again from the list.