
The offsetting figures along a line tool is a useful tool for creating hedges, soldier courses and other landscape items that require a continuous line or pattern of materials. This tool takes a library figure and spaces it equally along a path (such as a line, polyline, circle, rectangle, etc.) at a defined distance. The tutorial in this guide uses this method for the drawing of a boxwood hedge.
To use this tool, follow the example of drawing a row of 3’ shrubs on a 20’ line:
1. On a drawing, create a path by drawing a 20’ line. Select a 3’ flowering shrub symbol and insert the symbol somewhere on the drawing but not on top of the line just drawn. This will be a reference symbol that will be erased in the end.
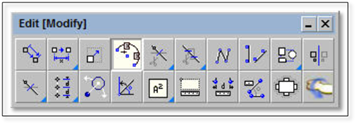
2. Click on the tool (shown above) to open the modifier.
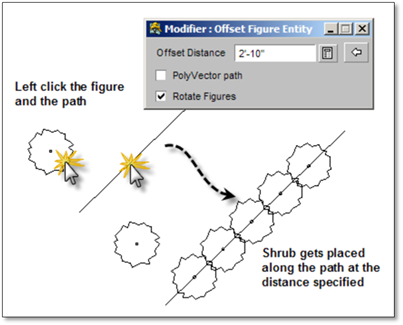
3. Enter 2’-10” into the modifier. Leave the Rotate Figures box checked (this will rotate the figures and align them parallel to the path) and the PolyVector Path can remain unchecked (since we have already created the path by drawing the line).
4. Select the figure to offset by clicking on the shrub symbol.
5. Select the path by clicking on the line.
6. The shrub will automatically snap to the line along with as many copies as will fit on the line, with the center of each shrub being 2’-10” apart.
