Before saving though, be sure that your “nodes” are still visible, otherwise they will not be included in the figure.
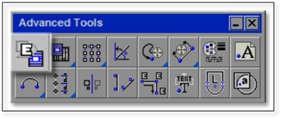
1. In the Advanced tool box and click on the Create a new Library Figure tool.
2. First choose your library you wish to save it to by clicking on the Select library... button and picking a library from the list.
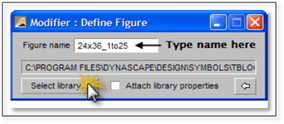
(If you wish to create a new library, see the section called Working With Library Figures).
3. Next, name your title block (remember - no spaces) and press [Enter].
4. Select the title block geometry and all the nodes and then right-click.
5. Next, choose the insertion point (perhaps lower right hand corner) and then right click when you are finished.
6. When you are done, try testing your title block by inserting it as a figure then use the Title Block Editor to fill in the fields.